In-App Purchase Guide: Types, Features & Testing
In-app purchases let you buy additional features, content, or subscriptions directly within an app. You might see different plans offered at various prices, and some features might even have a free trial before you commit.
This guide dives into the world of in-app purchases for users. It explains how mobile app development companies set up the different options you see for purchase and how they use special tools to connect the app to the app store for purchases.
It also explores the different ways things can be sold within an app, such as one-time purchases or ongoing subscriptions. It helps you understand situations like stopping a subscription you don't want anymore, restoring past purchases if you switch devices, and what happens when a subscription ends.
Finally, it acknowledges that there can be issues with payments or refunds and aims to provide information on how to handle these situations.
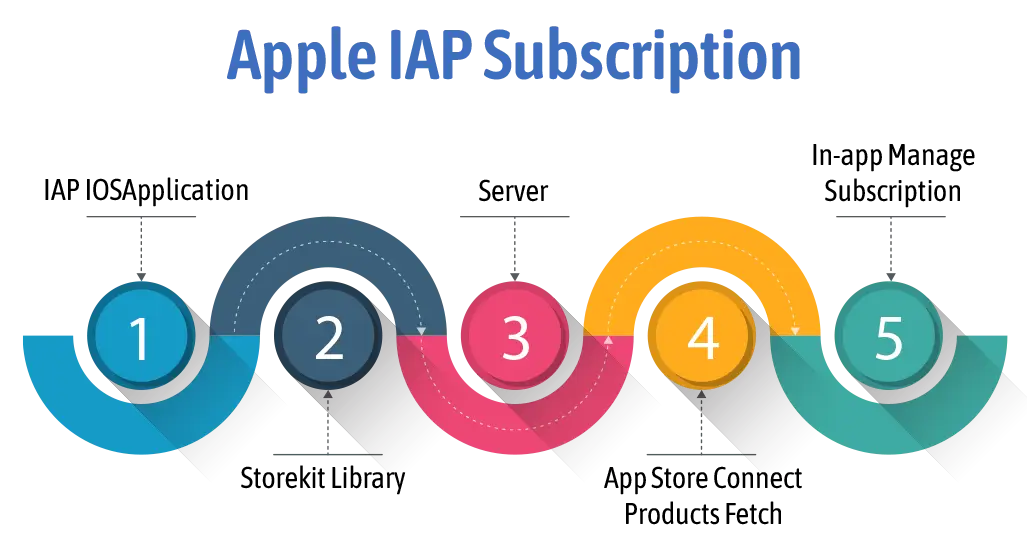
Table of Contents
- Pros and Cons of Implementing In-App Purchases
- Setting Up In-App Purchases in the App Store
- Understanding and Choosing the Right In-App Purchase Types
- Working with the StoreKit Library: Product Retrieval
- Procedures for Testing In-App Purchases in the Xcode Environment
- Procedures for Testing In-App Purchases in Sandbox Environment
- Procedures for Testing In-App Purchases in TestFlight Environment
- Procedures for Testing In-App Purchases in the App Store Environment
- Managing Sandbox IDs vs. Apple IDs: Creation and Usage
- Conclusion
Pros and Cons of Implementing In-App Purchases
Pros:
- Enhanced User Experience: IAP enhanced user experience using buying plans and app features.
- Monetization for Developers: IAP provides the best income stream for the app owner
- Choice and Customization: IAP provides customization for plans with price.
- Subscription Options: create a custom revenue model according to which you design your subscription plans.
Cons:
- Risk of Overspending: Responsible spending habits contribute to a safer and more enjoyable gaming experience for all players, especially children.
- Technical Issues: Users can face such issues at some time like transactions, refunds, or restoring past purchases, causing inconvenience for users.
- Focus on Profit over Quality: Developers can mitigate the risk of over-reliance on IAPs.

Setting Up In-App Purchases in the App Store
Step 1: Log in to App Store Connect Site.
Step 2: Set up your App with New App. Set up a bank account in your iTunes Connect account by navigating to the 'Agreements, Tax, and Banking' section of your iTunes Connect account.
Step 3: Create respective certificates for development and distribution (apple developer).
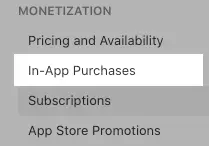
Step 4: Click on App -> in App Purchase as below mentioned screenshot.
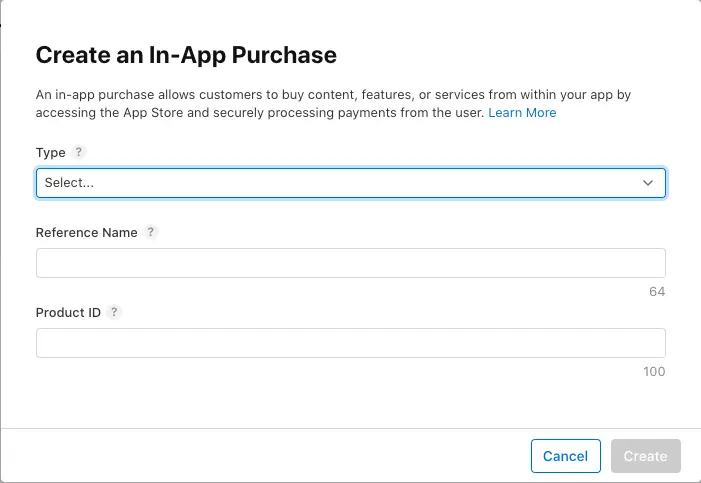
Step 5: To create in-app purchase products, click "Add", then specify your subscription type as either consumable, non-consumable, auto-renewable subscription, or non-renewable subscription.
Step 6: Add Reference number (The reference name will be used on App Store Connect and in Sales and Trends reports. It won't be displayed on the App Store. The name can't be longer than 64 characters.)
Step 7: Add product ID (A unique alphanumeric ID that is used for reporting. After you use a Product ID for one product, it can’t be used again, even if the product is deleted.) like eg: com.sapna.annual subscription. Refer below mentioned screenshot for better idea.
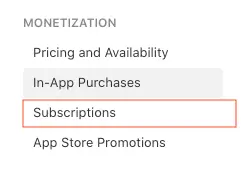
Step 8: Click on App -> Subscription as below mentioned screenshot.
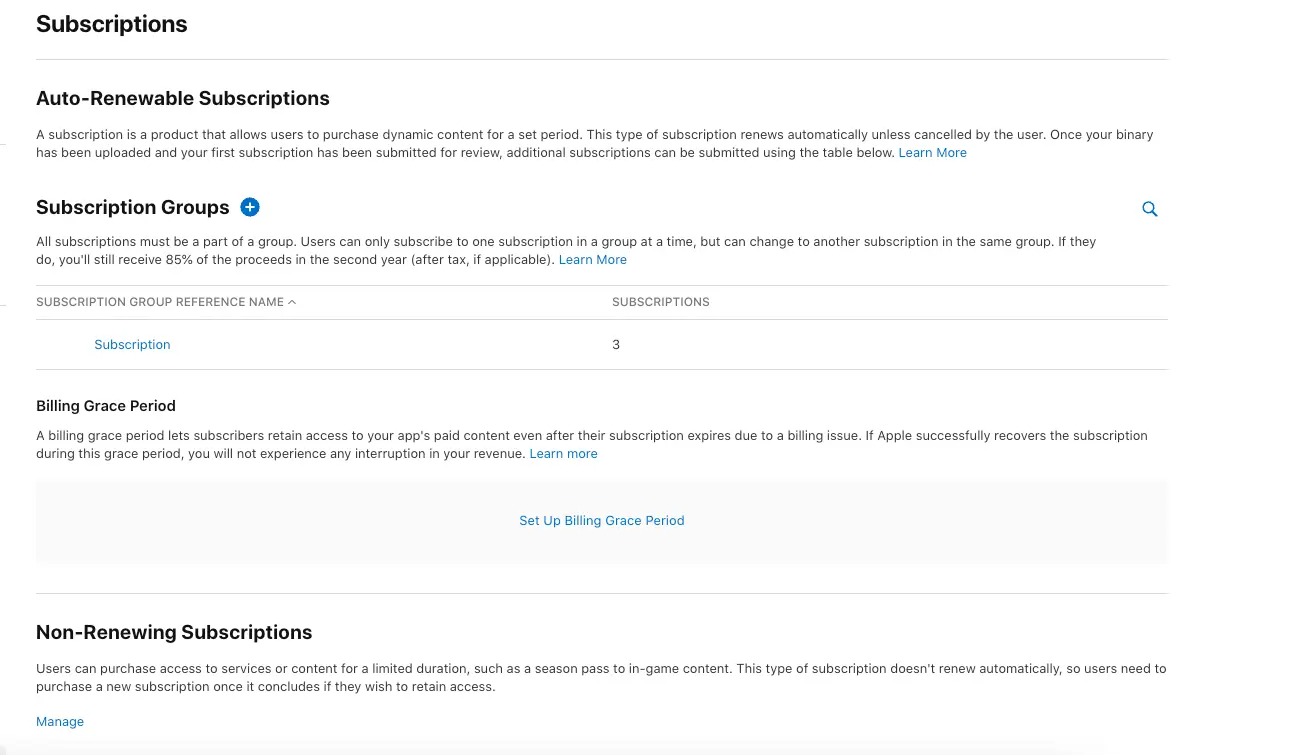
Step 9: You can create a subscription group by clicking subscription group (All subscriptions must belong to a group. Users can only have one subscription within a group but can switch to another subscription in the same group) Refer below-mentioned screenshot. In the screenshot one group of 3 subscription is mentioned (monthly, six-monthly, yearly).
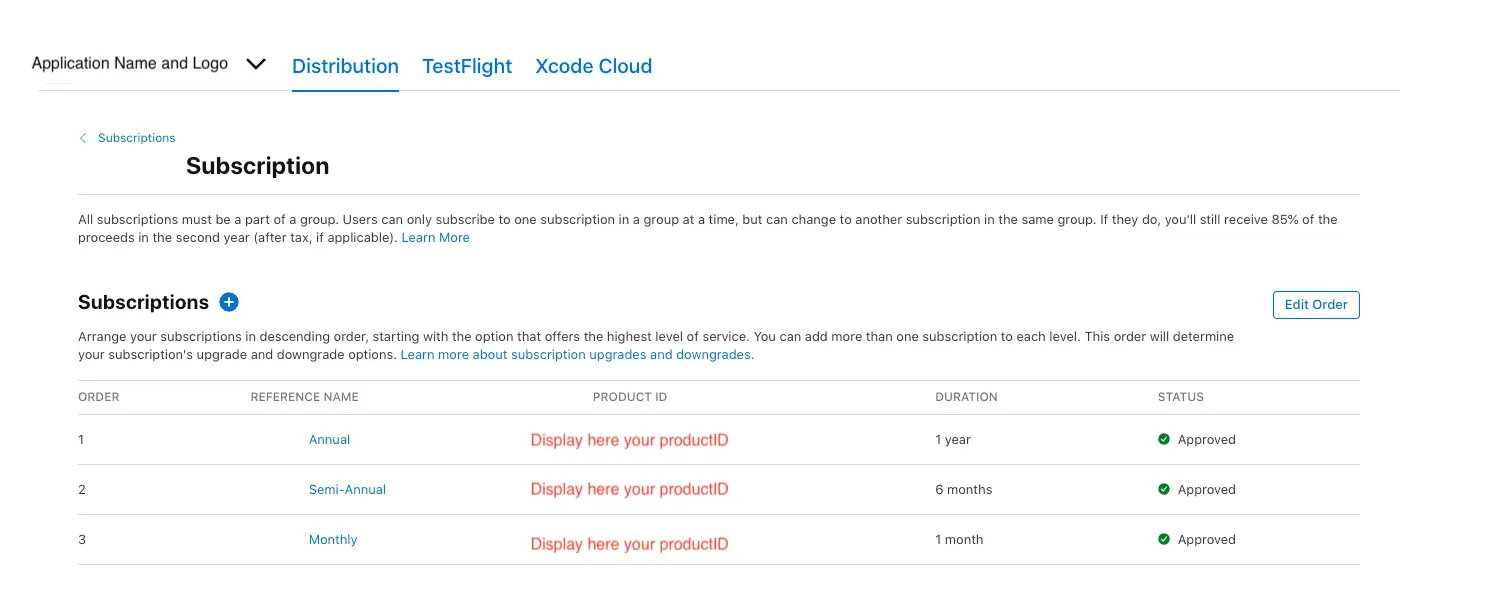
Step 10: Select a group of subscriptions and add (monthly, six-monthly, yearly) their respective Product IDs as below screenshot.
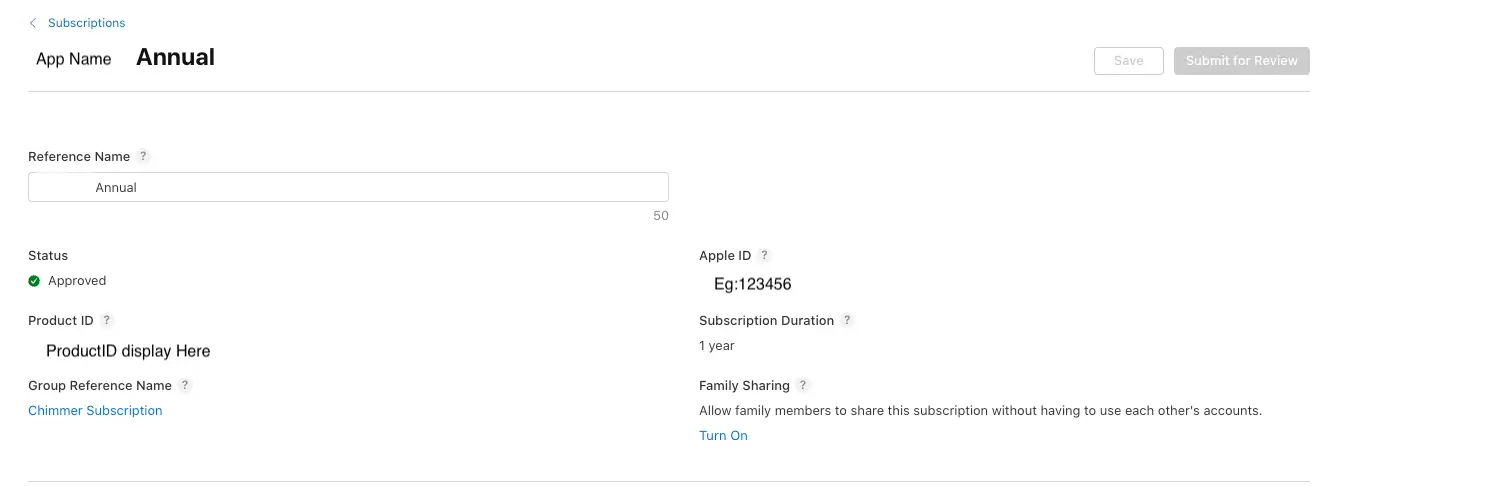
Step 11: Click on Particular plan, set details according to the respective plan as below mentioned Screenshot.
Step 12: Check out the availability of your plan country-wise and update for a respective plan as per the screenshot.

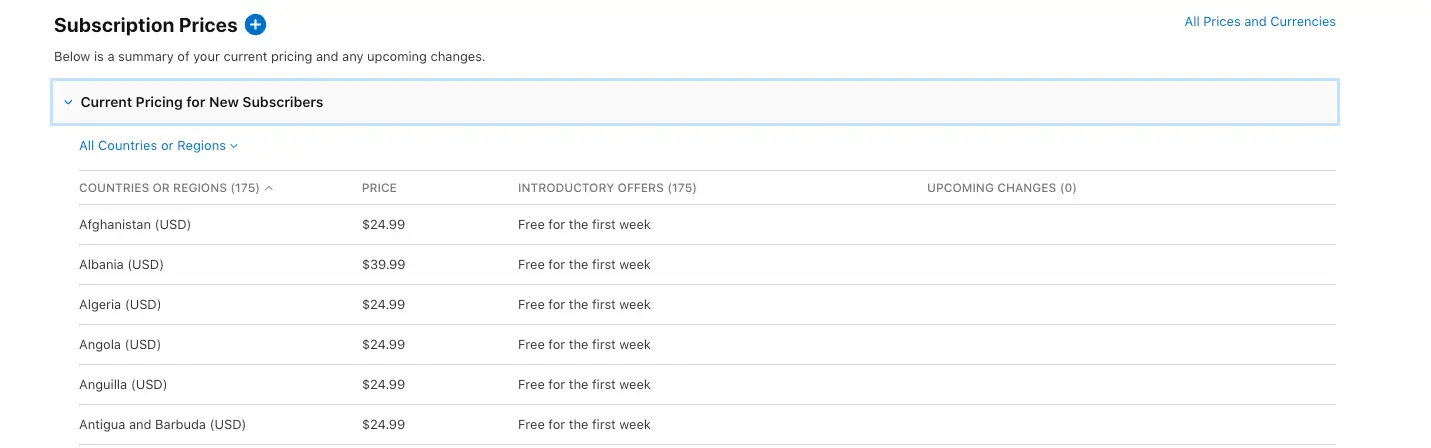
Step 13: Select plan price country-wise.
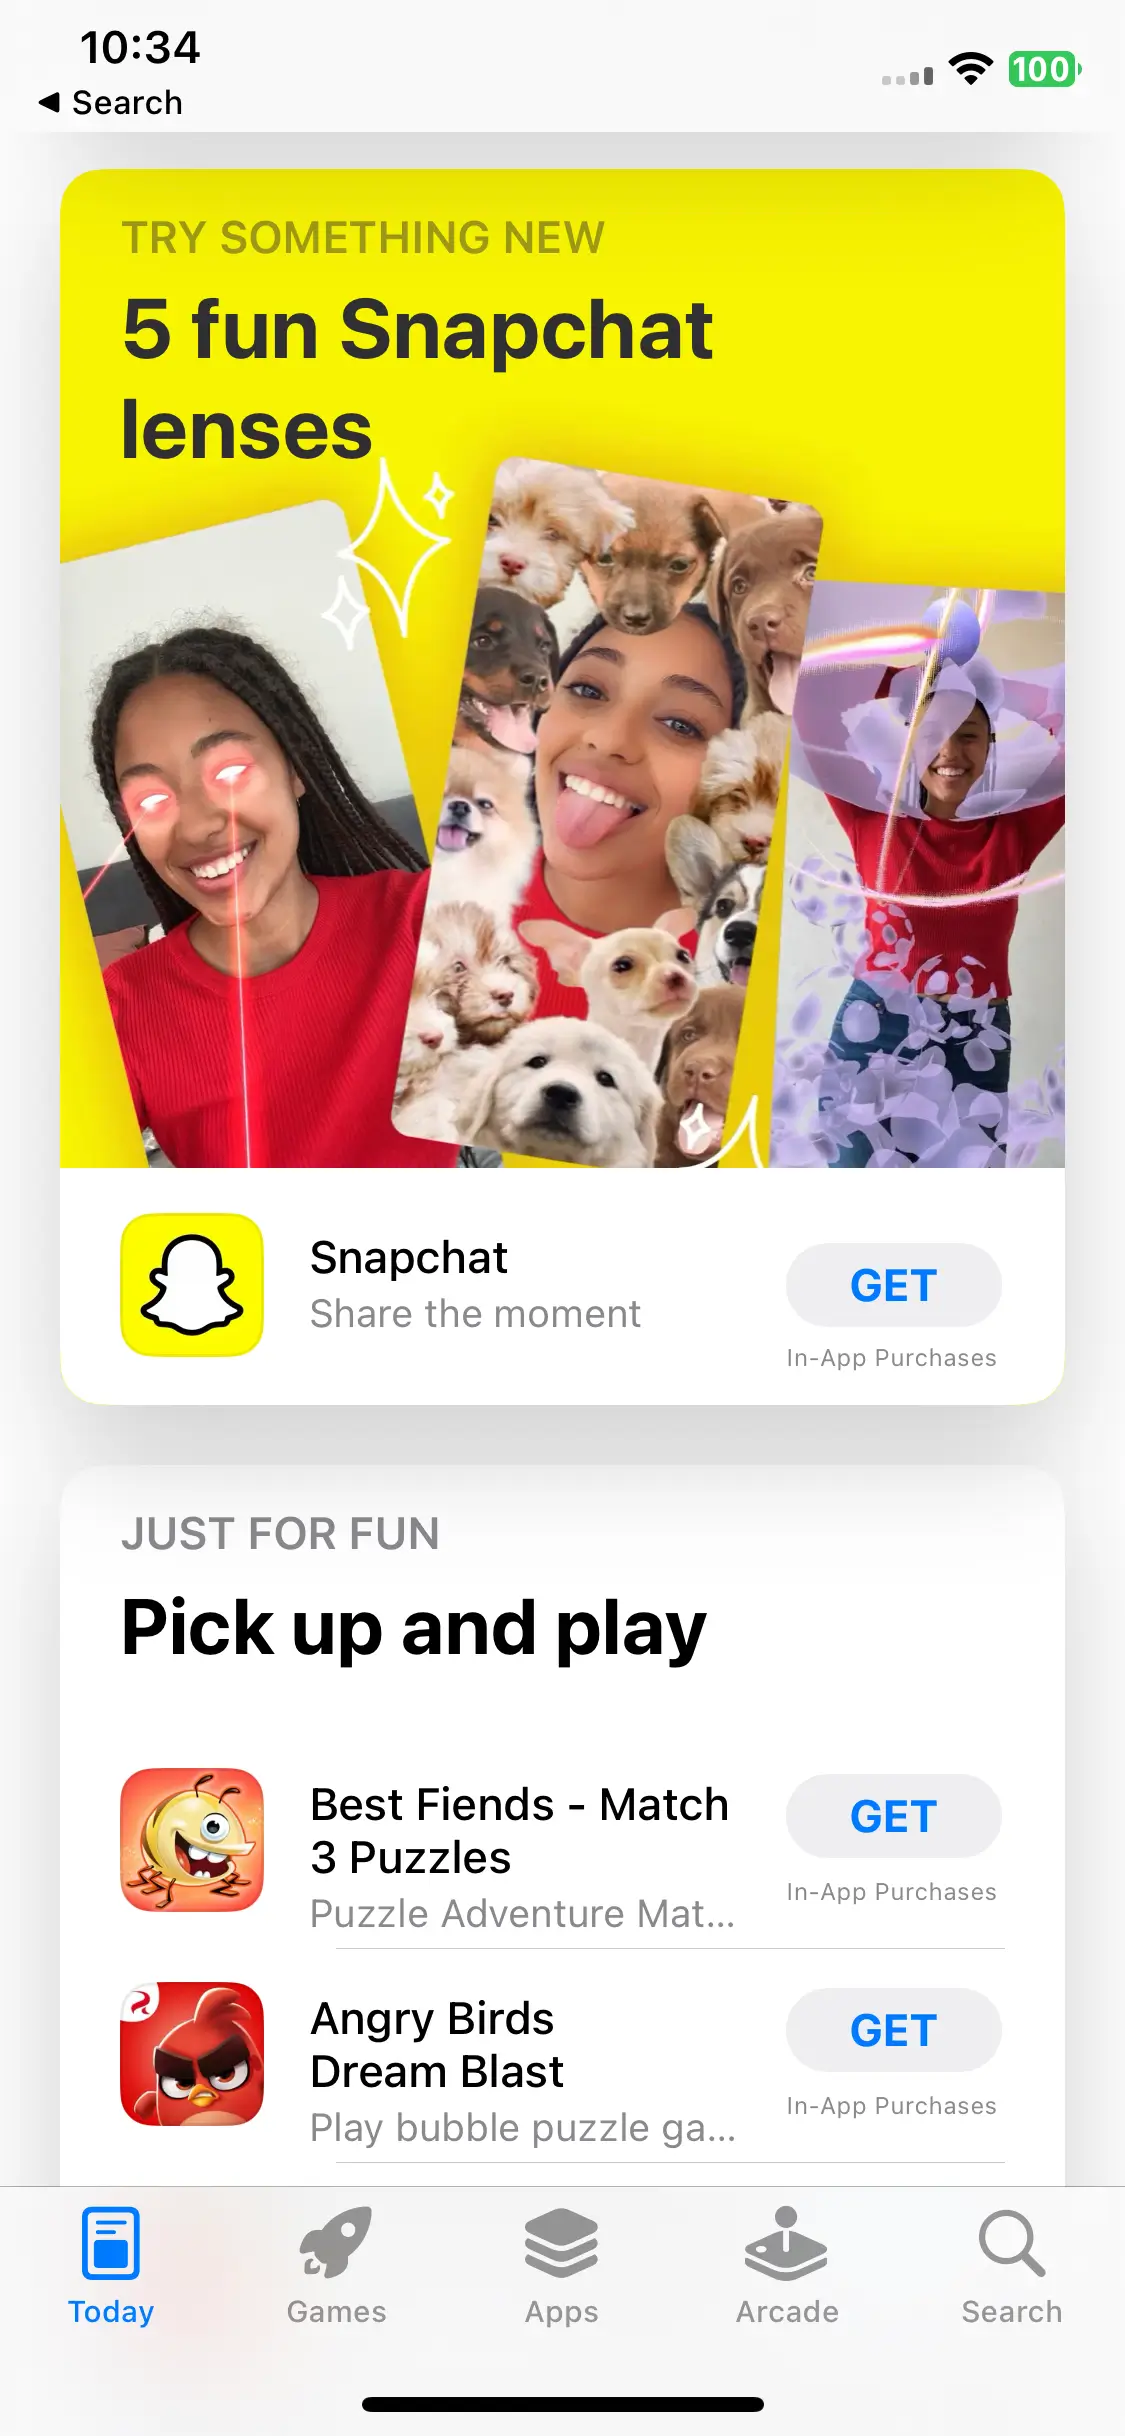
Step 14: Add a promotional image for your app. Size should be as below mentioned screenshots with an example of the App Store.

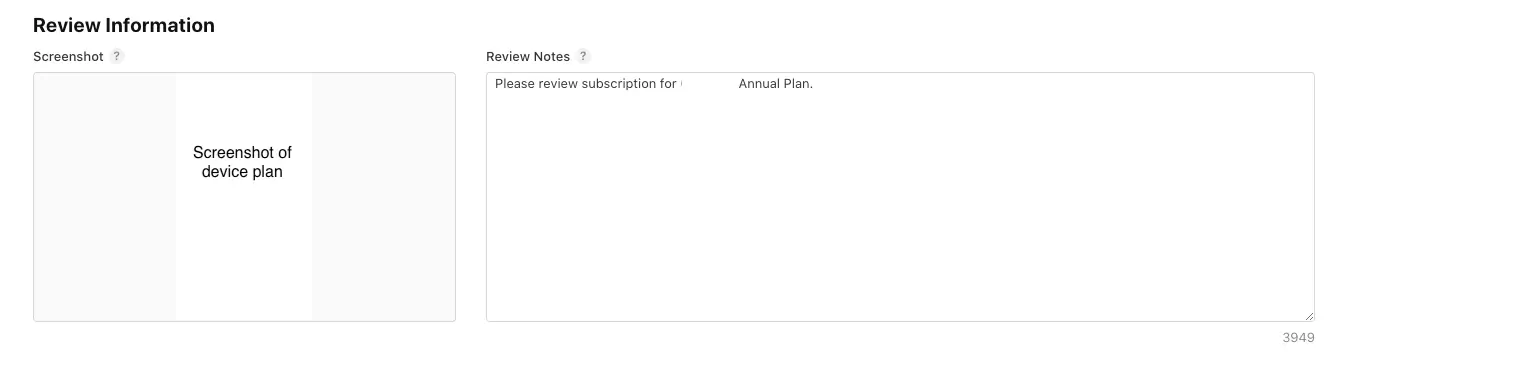
Step 15: Add a Review screenshot and description of the subscription plan from our app with the respective plan. Check out the screenshot below for better clarity.
Step 16: Now your App Store setup is completed with respective plan subscriptions. Let's move on to understanding and choosing the right In-App Purchase types.
Understanding and Choosing the Right In-App Purchase Types
- Consumable In-App Purchases
- Non-Consumable In-App Purchases
- Auto-Renewable Subscriptions
- Non-Renewing Subscriptions

Working with the Store Kit & SwiftyStoreKit Library: Product Retrieval
Introduction to Store Kit & SwiftyStoreKit
Store Kit is the framework is Apple's in-built library for implementing in-app purchases in iOS, macOS, watchOS, and tvOS apps. Store Kit provides various in-app purchase options, while handling interactions with the App Store and presenting products to users. Also using the SwiftyStoreKit library you get easily all the in-app purchase methods for handling responses.
SwiftyStoreKit methods Information
- Retrieve Data from Product ID
SwiftyStoreKit.retrieveProductsInfo(product IDS)
- Purchase products
SwiftyStoreKit.purchaseProduct(product Identifier, atomically: atomically)
- Restore purchase
SwiftyStoreKit.restorePurchases(atomically: true)
- Verify Products
SwiftyStoreKit.verifyReceipt(using apple Validator, completion: completion)
Procedures for Testing In-App Purchases in the Xcode Environment
Steps for Purchase Plan on Xcode:
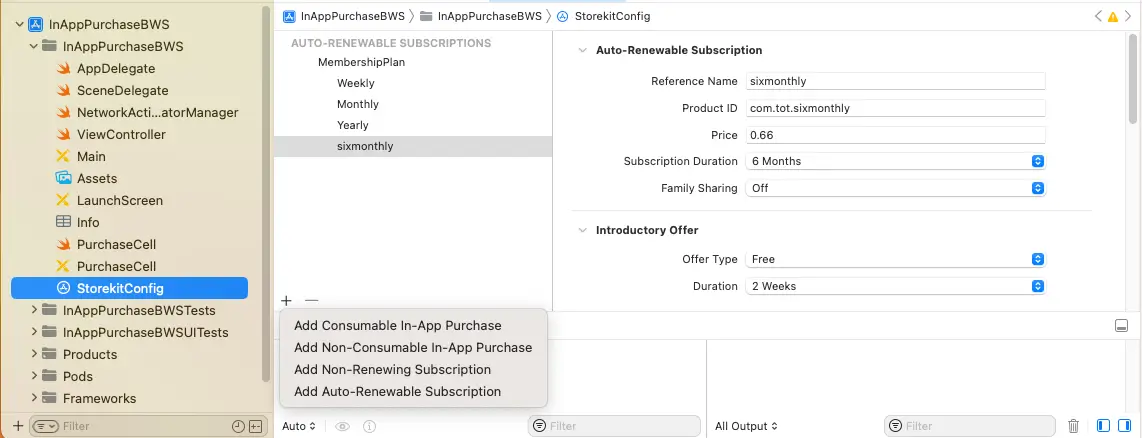
- Implement Xcode config file for test in-app purchase in Xcode.
- Create Launch Xcode, then choose File > New > File, Select Store Kit Configuration File (extension must be .storekit).
- Add plan using different subscription types same as App Store.
- Click the scheme to open the Scheme menu and choose Edit Scheme.
- In the scheme editor, select the Run action. Select StoreKit config file from the bottom menu
- Display and fetch plan using StoreKit and swiftystorekit library.
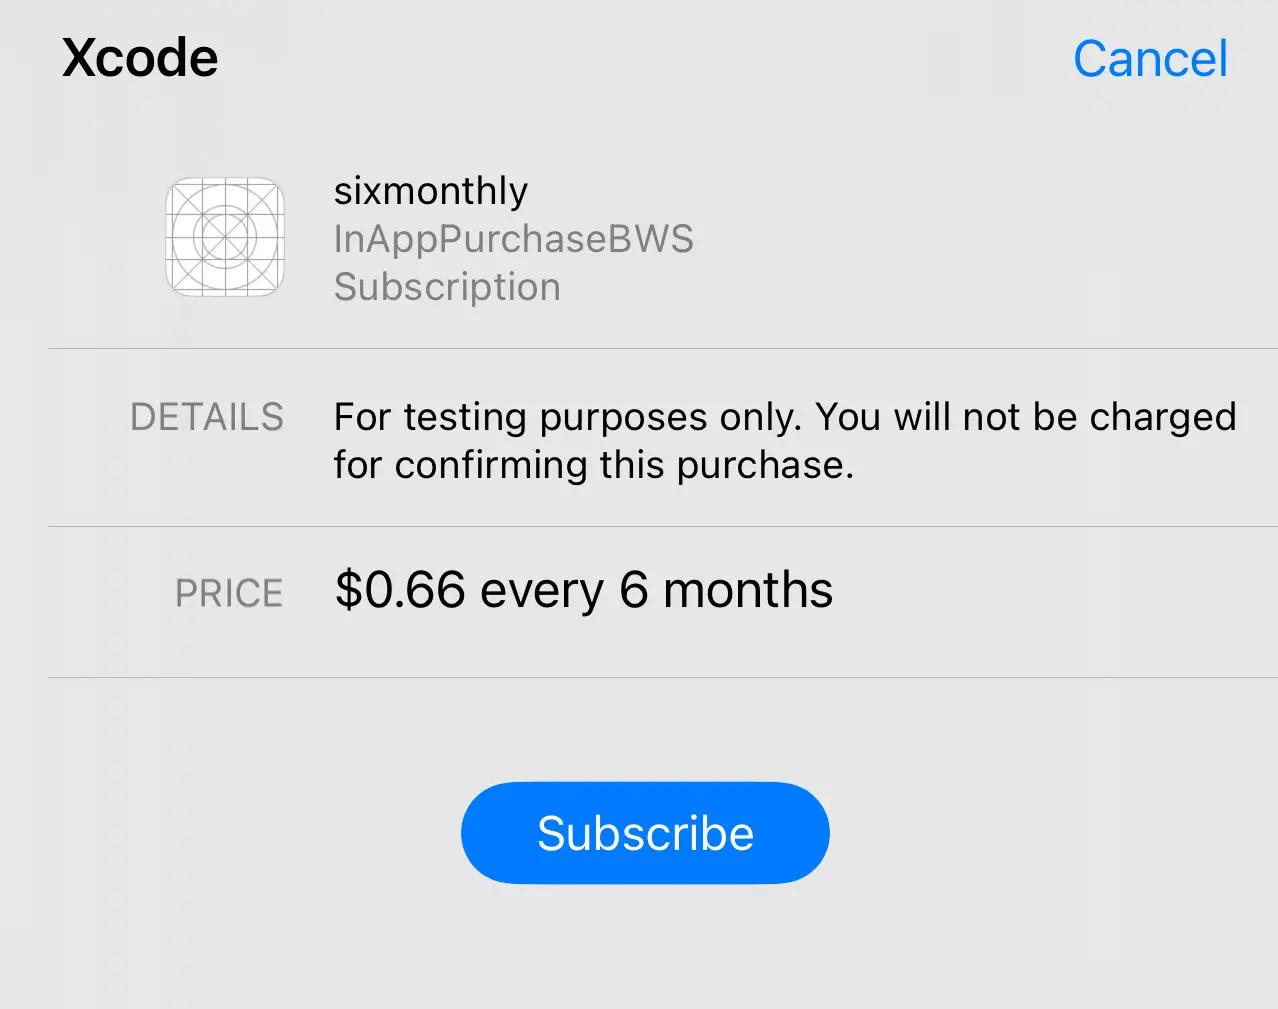
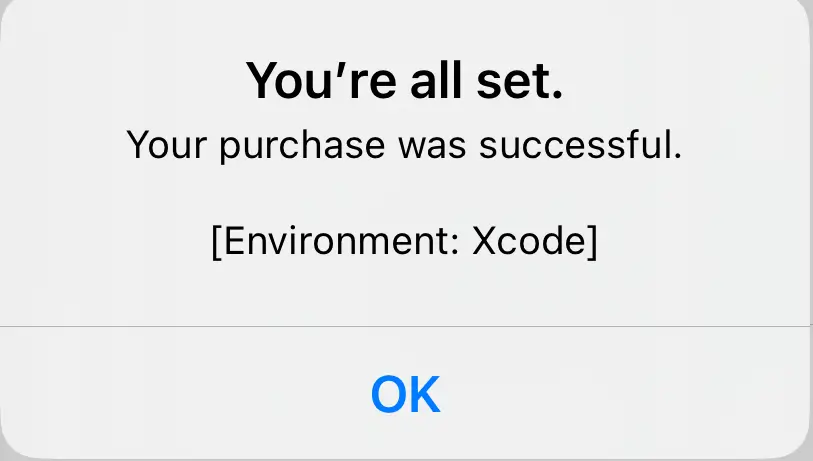
- Click on the subscription purchase button and purchase the product.
- Refer below mentioned screenshot for better clarity.
Procedures for Testing In-App Purchases in Sandbox Environment
Steps for Purchase Plan on sandbox:
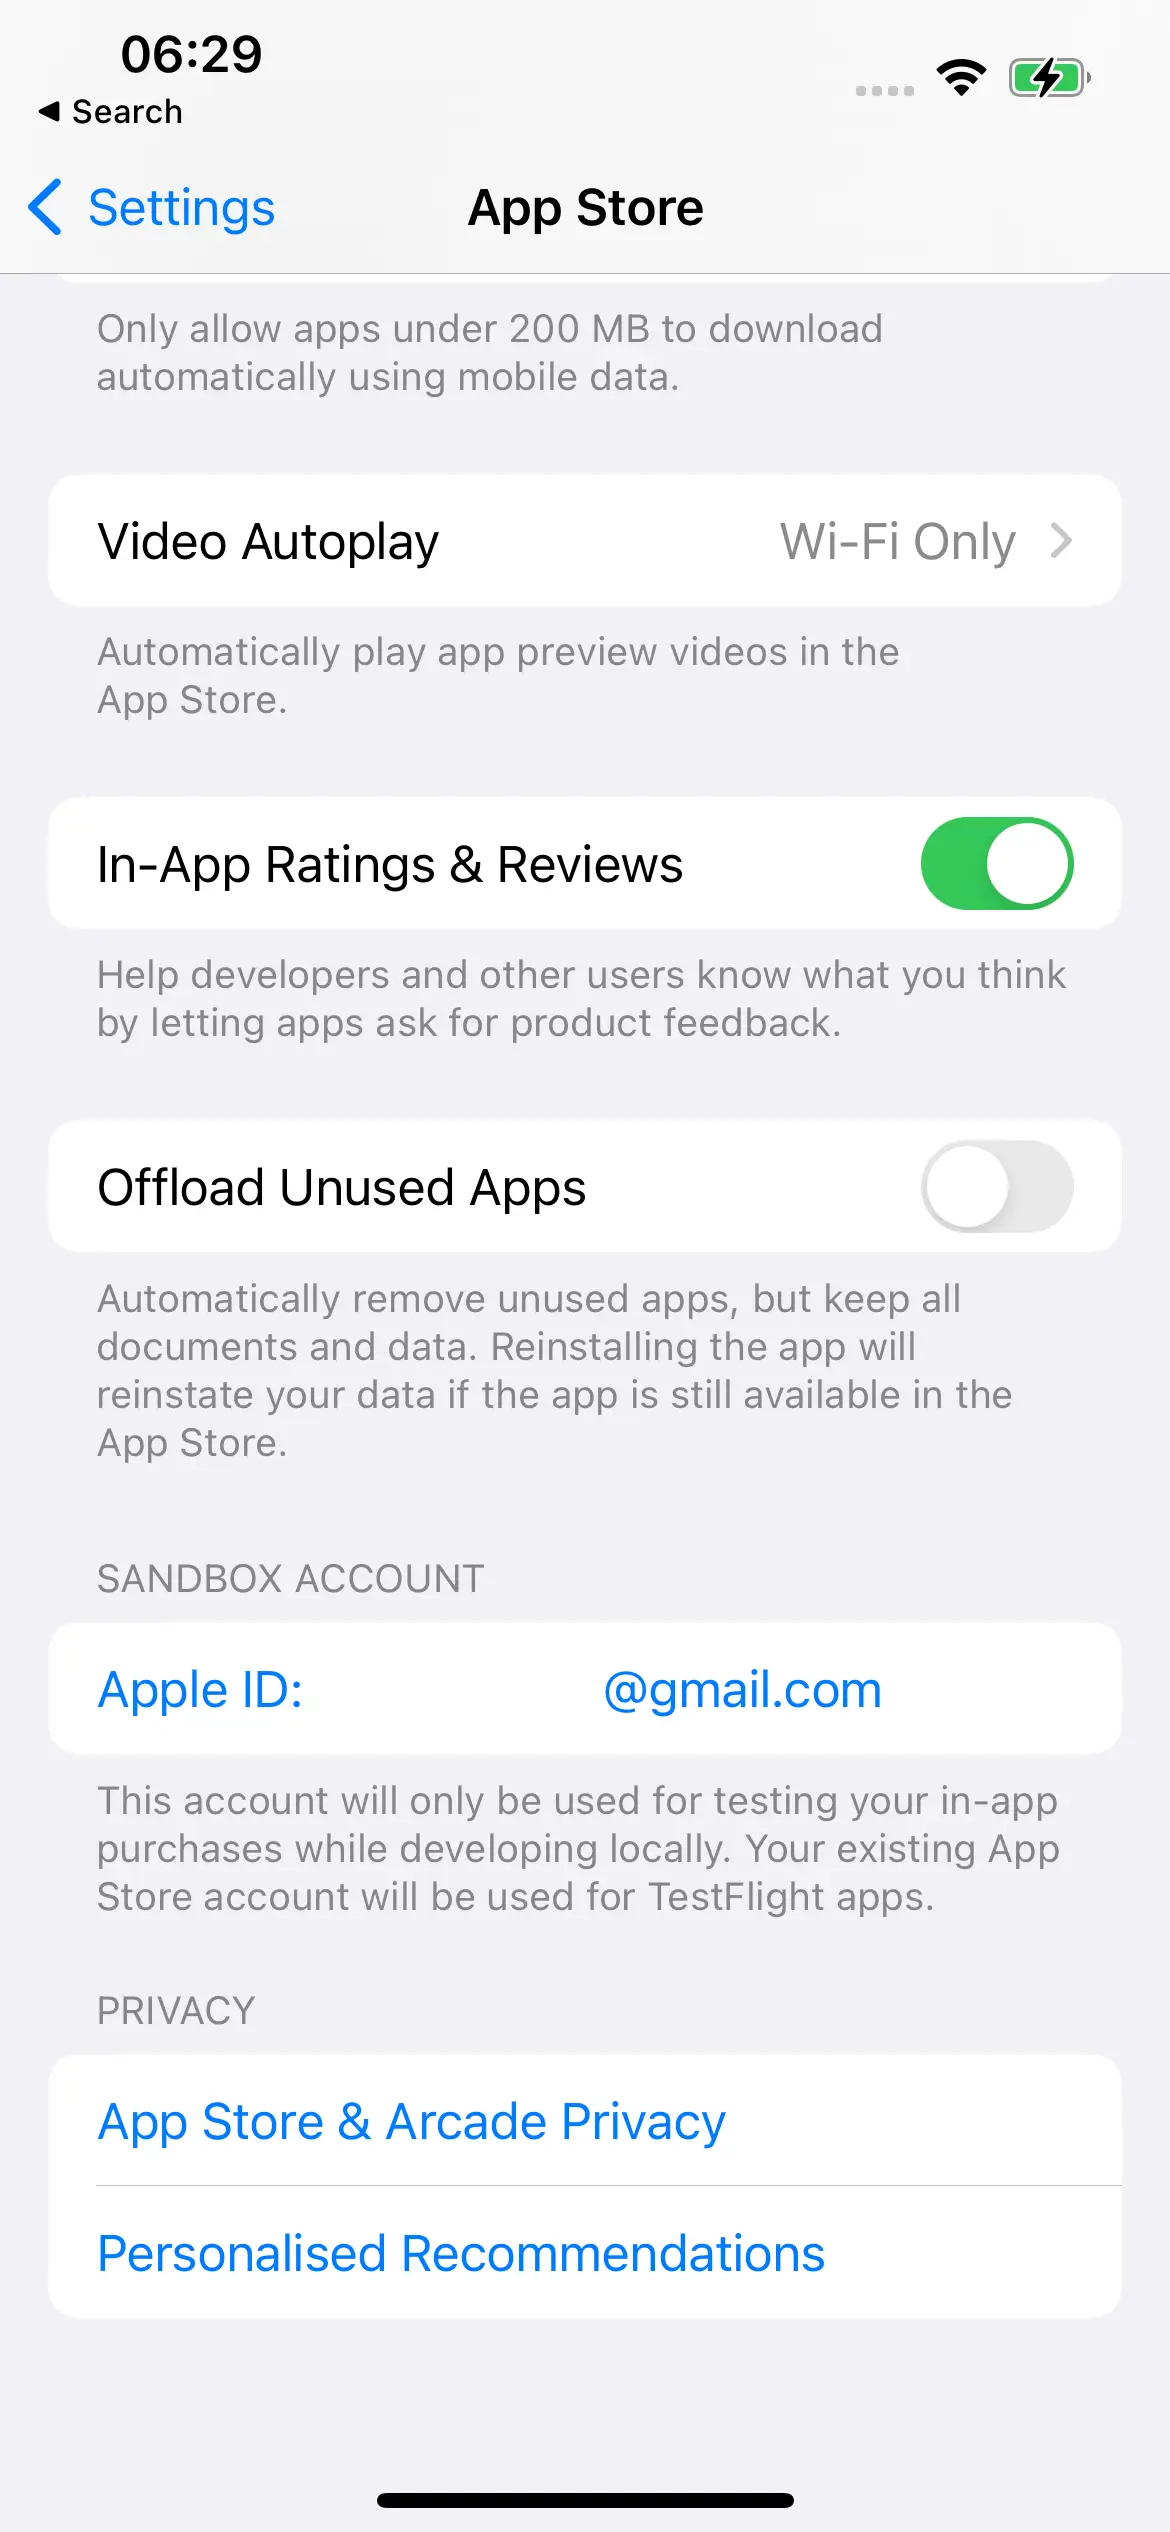
- Clear purchase history from mobile settings or App Store account.
- Create a new sandbox account if you don't have one; otherwise, use your existing Apple account.
- Sign Out of the sandbox Account from the mobile setting if you have an existing account.
- Install the app from the Do link.
- Register a new account with the same time zone as the sandbox account.
- To access subscription options, simply click on the subscription button to purchase a new plan.
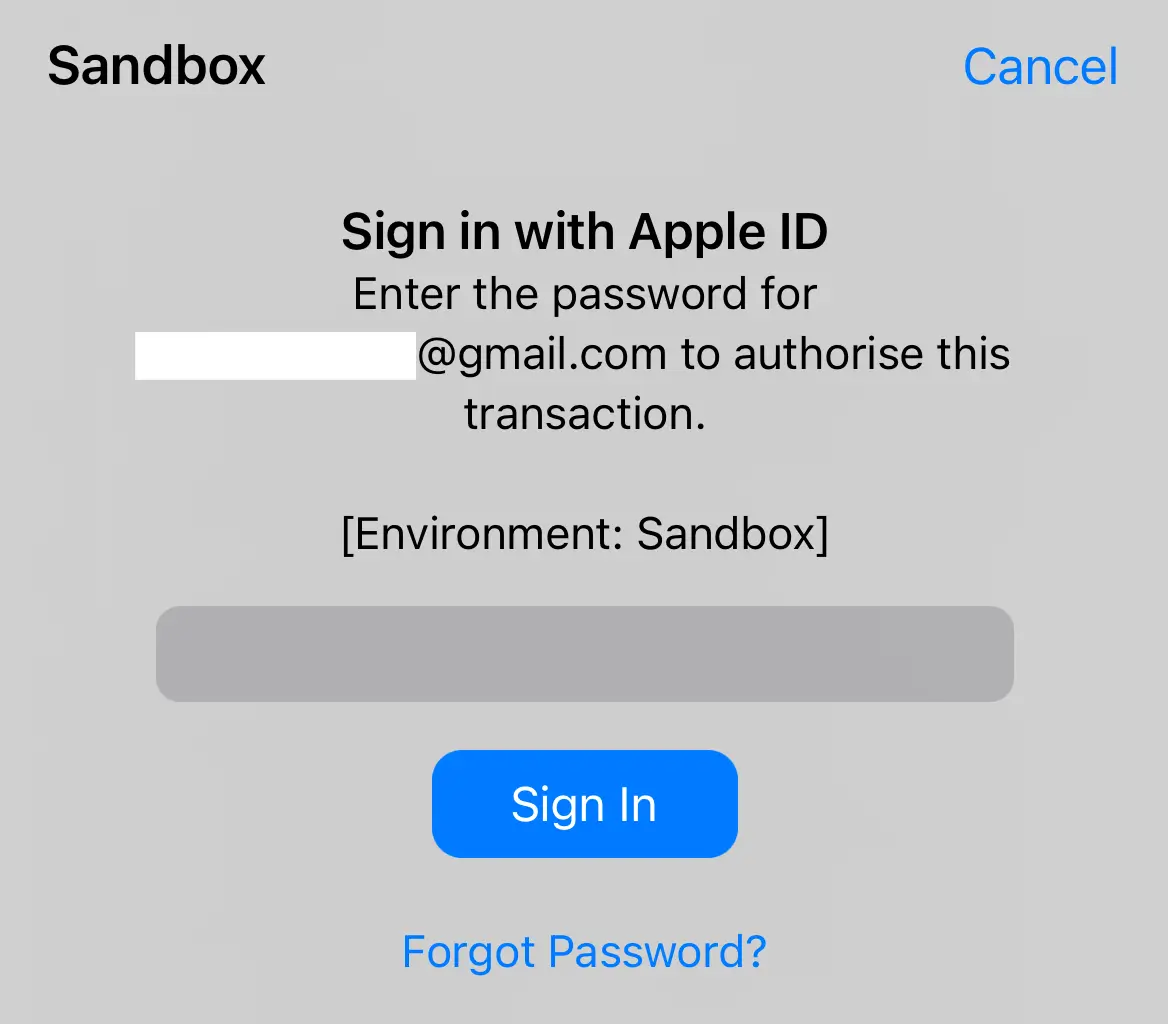
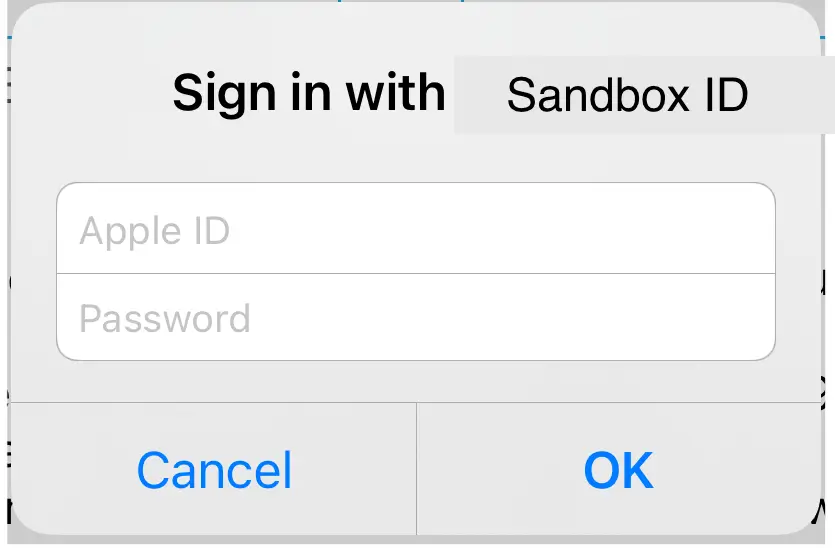
- Provide the Sandbox ID and password when prompted by the Apple popup for the Sandbox account.
- Re-enter sandbox and password.
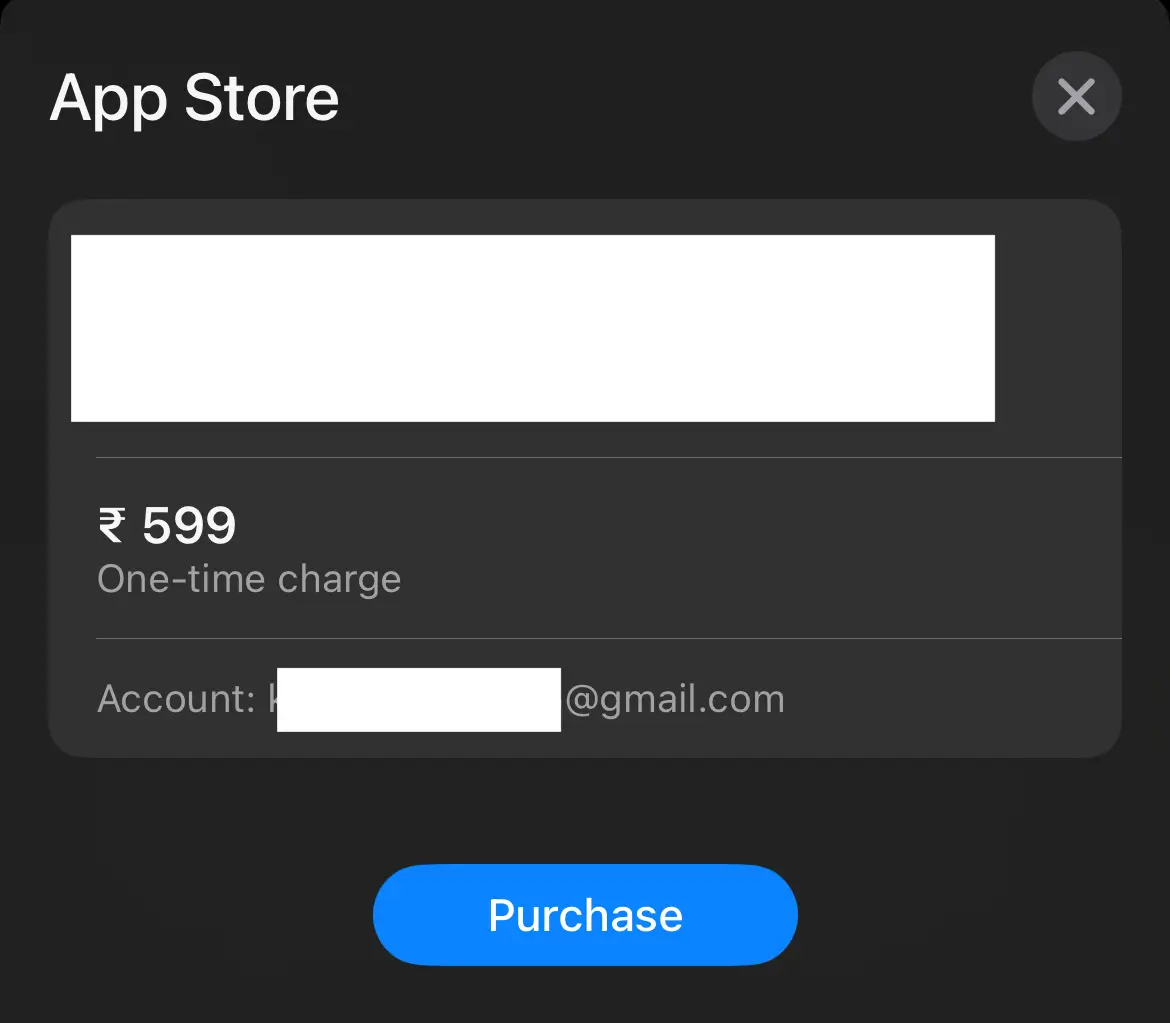
- When the subscription popup appears at the bottom, simply click on the subscribe button.
- You can now enjoy your plan, which will automatically renew 12 times, and upon expiration, it will need to be renewed again.
Procedures for Testing In-App Purchases in TestFlight Environment
Steps for Purchase Plan on TestFlight:
- Go to app settings, Apple ID -> Media and purchases -> logout account.
- Create a new Apple account if you don't have one; otherwise, use your existing Apple account.
- Sign Out of the sandbox Account from the mobile setting if you have an existing account.
- Install the app from TestFlight.
- Register a new account with the same time zone as displayed on the setting
- To access subscription options, simply click on the subscription button to purchase a new plan.
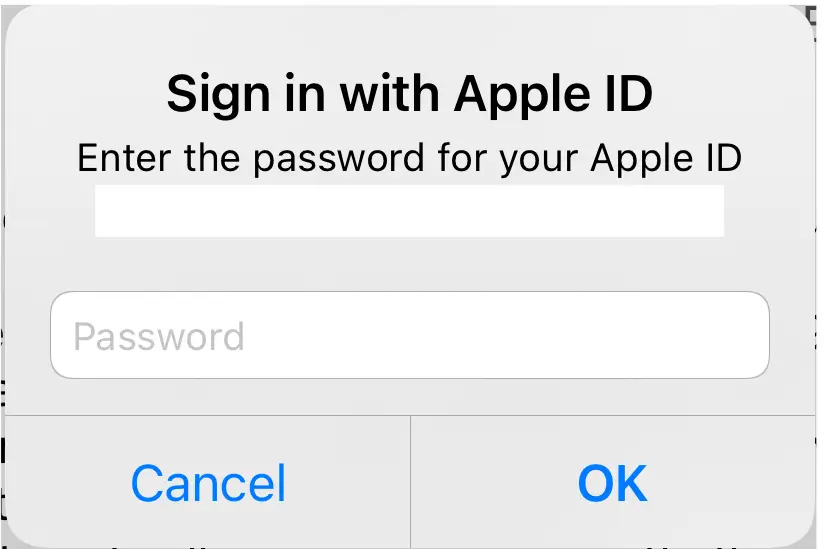
- Provide the Apple ID and password when prompted by the Apple popup for the Apple account.
- Re-enter Apple ID and password.
- When the subscription popup appears at the bottom, simply click on the subscribe button.
- You can now enjoy your plan, which will automatically renew 12 times, and upon expiration, it will need to be renewed again.

Procedures for Testing In-App Purchases in the App Store Environment
Steps for Purchase Plan on App Store:
- Go to app settings, Apple ID -> Add Apple Pay.
- Create a new Apple account if you don't have one; otherwise, use your existing Apple account.
- Install the app from the App Store.
- Register a new account with the same time zone as displayed on the setting.
- To access subscription options, simply click on the subscription button to purchase a new plan.
- Provide the Apple ID and password when prompted by the Apple popup for the Apple account.
- Input your card details to purchase the subscription plan.
- Now enjoy your plan and your plan will auto-renew as per your subscription plan.

Conclusion
This blog covers implementing in-app purchases in iOS Swift using the StoreKit framework and SwiftStoreKit library for streamlined integration. It offers step-by-step procedures for setting up in-app purchases in the App Store and provides comprehensive testing guidelines for various environments such as Xcode, App Store, sandbox, and TestFlight. The process might seem complex, and you always have an option turning to experts and hire dedicated developers to integrate this feature. Additionally, it also includes detailed explanations of the pros and cons of in-app purchases and highlights the differences between Apple ID and sandbox ID usage.
Author Bio
 Sapana Chettipalli is a Senior iOS Developer at The One Technologies, bringing a wealth of experience and expertise to the team. Over the years, she has progressed into senior roles, playing a pivotal role in team and communication development. With a passion for traveling, drawing, yoga, and technology, Sapana envisions a future in leadership, aspiring to become a team lead, guiding junior developers, and contributing to impactful project architectures.